Red Velvet Cake
Highlighted under: Baking & Desserts
A classic dessert that combines rich flavors and a stunning appearance, perfect for any occasion.
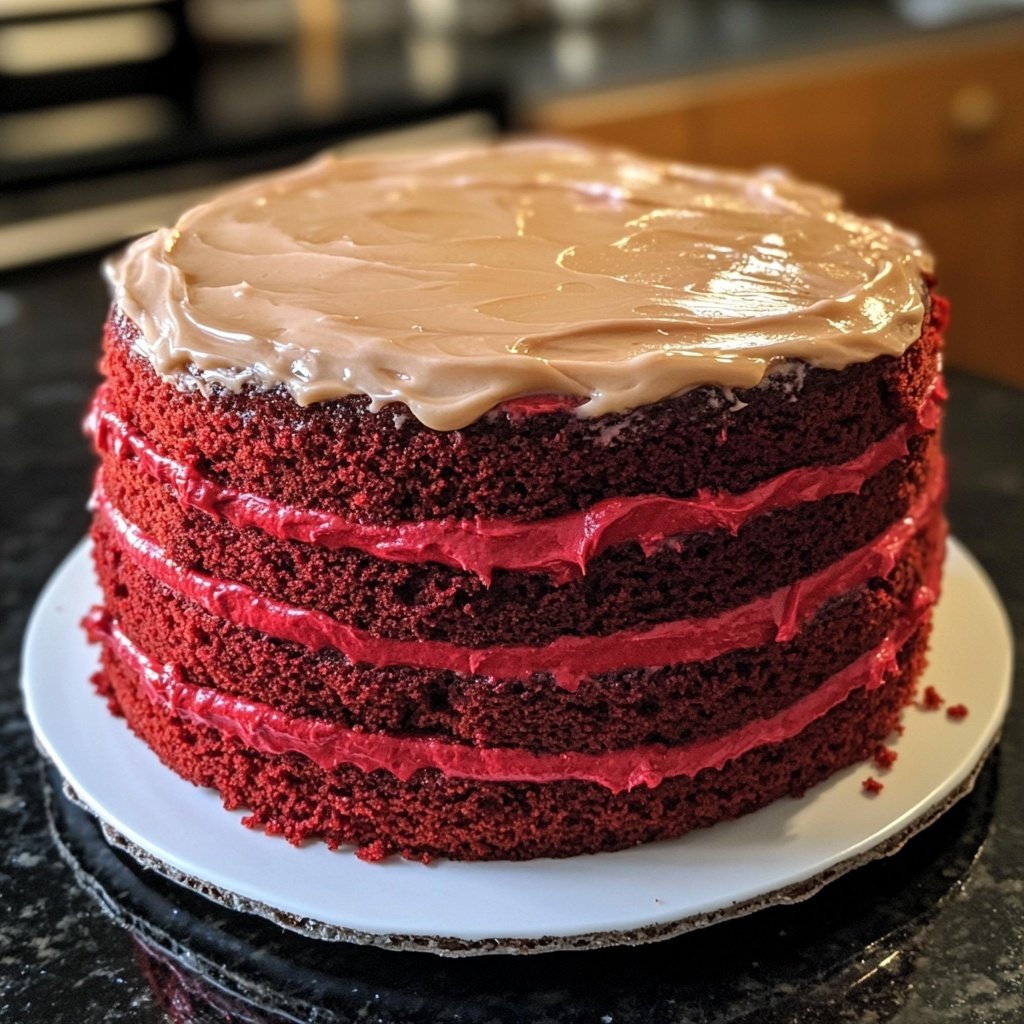
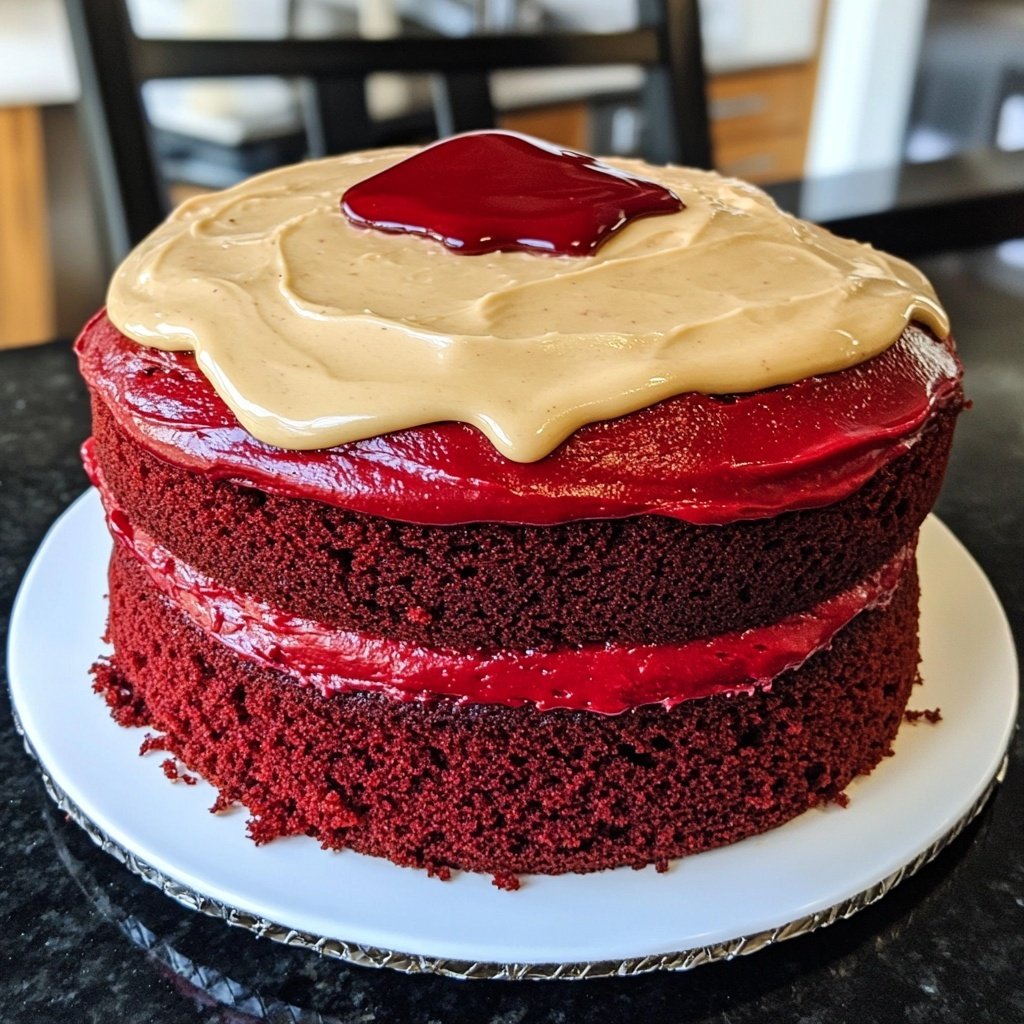
Red velvet cake is a delightful dessert with a unique flavor and a vibrant color. This cake has a rich history and is often associated with special occasions and celebrations.
Why You'll Love This Recipe
- Luxurious and velvety texture that melts in your mouth
- A stunning presentation with its rich red color
- Perfectly paired with cream cheese frosting for a delicious contrast
The History of Red Velvet Cake
Red Velvet Cake has a rich history that dates back to the 19th century. Originally, it was known as a 'red cocoa cake' and was a popular choice for special occasions. The distinctive red hue was achieved using cocoa powder that reacted with acidic ingredients, producing a subtle reddish tint. Over the years, the cake evolved, and the addition of red food coloring became a common practice, giving it the vibrant color we know today.
The cake gained nationwide popularity during the Great Depression, when it was featured in a marketing campaign by the Adams Extract Company, which sold food coloring. This promotional effort helped solidify its place as a favorite dessert for celebrations, particularly in the Southern United States. Today, it is often associated with Valentine's Day and other romantic occasions, making it a beloved treat around the world.
Perfecting Your Baking Technique
Baking a Red Velvet Cake requires precision and care to achieve that perfect balance of flavors and textures. Start by ensuring all your ingredients are at room temperature, especially the buttermilk and eggs, as this helps create a smooth batter. When mixing your dry and wet ingredients, be careful not to overmix; this can lead to a dense cake rather than the light and fluffy texture that makes this dessert so delightful.
Another key tip is to accurately measure your flour. Too much flour can result in a dry cake, so using a kitchen scale for precise measurements is highly recommended. Additionally, ensure your oven is fully preheated before baking, as this is crucial for even cooking. If you want a truly impressive layer cake, consider leveling your cake layers with a serrated knife before frosting to create a smooth and professional appearance.
Serving Suggestions and Pairings
When it comes to serving Red Velvet Cake, presentation is just as important as taste. A simple garnish of fresh berries or a dusting of cocoa powder can enhance its visual appeal. For a festive touch, consider adding edible flowers that complement the rich color of the cake. Serving it on a beautiful cake stand can elevate the experience, making it a showstopper at any gathering.
Pairing your Red Velvet Cake with a glass of cold milk or a cup of coffee can enhance the flavors beautifully. For those looking for a beverage with a bit more flair, consider serving it alongside a sweet red wine or a sparkling rosé. The creamy richness of the cream cheese frosting complements these drinks perfectly, making every bite a delightful experience.
Ingredients
Ingredients for Red Velvet Cake
For the Cake
- 2 1/2 cups all-purpose flour
- 1 1/2 cups granulated sugar
- 1 teaspoon baking soda
- 1 teaspoon salt
- 1 teaspoon cocoa powder
- 1 1/2 cups vegetable oil
- 1 cup buttermilk, room temperature
- 2 large eggs, room temperature
- 2 tablespoons red food coloring
- 1 teaspoon vanilla extract
- 1 teaspoon white vinegar
For the Cream Cheese Frosting
- 8 oz cream cheese, softened
- 1/2 cup unsalted butter, softened
- 4 cups powdered sugar
- 1 teaspoon vanilla extract
Make sure all ingredients are at room temperature for the best results.
Instructions
Instructions for Red Velvet Cake
Preheat the Oven
Preheat your oven to 350°F (175°C) and grease two 9-inch round cake pans.
Mix Dry Ingredients
In a large bowl, sift together the flour, sugar, baking soda, salt, and cocoa powder.
Combine Wet Ingredients
In another bowl, whisk together the oil, buttermilk, eggs, food coloring, vanilla, and vinegar.
Combine Mixtures
Gradually add the wet ingredients to the dry ingredients, mixing until just combined.
Bake the Cakes
Divide the batter evenly between the prepared pans and bake for 25-30 minutes, or until a toothpick inserted in the center comes out clean.
Cool the Cakes
Let the cakes cool in the pans for 10 minutes, then transfer to wire racks to cool completely.
Prepare Frosting
In a mixing bowl, beat the cream cheese and butter together until smooth. Gradually add the powdered sugar and vanilla, mixing until combined.
Assemble the Cake
Once the cakes are cool, spread a layer of frosting on top of one cake layer, place the second layer on top, and frost the top and sides of the cake.
Enjoy your beautifully decorated red velvet cake!
Pro Tips
- For an extra touch, add sprinkles or chocolate shavings on top of the frosting.
Storing Leftovers
Storing leftover Red Velvet Cake is simple and ensures you can enjoy this delectable dessert for days to come. To keep the cake fresh, place it in an airtight container at room temperature for up to two days. If you need to store it for a longer period, consider refrigerating it where it can last for about a week.
For optimal flavor and texture, it’s best to let the cake come to room temperature before serving. If you have a particularly large cake, you can wrap individual slices in plastic wrap and freeze them for up to three months. When you’re ready to indulge again, simply let the slices thaw in the refrigerator overnight.
Variations to Try
While the classic Red Velvet Cake is a favorite for many, there are several delightful variations you can try to switch things up. For a chocolate lover’s twist, consider adding chocolate chips to the batter or layering the cake with chocolate ganache. Alternatively, for a lighter version, you can substitute half of the all-purpose flour with almond flour for a nutty flavor and a gluten-free option.
Another fun variation is to turn your Red Velvet Cake into cupcakes. Simply pour the batter into a lined cupcake tin and reduce the baking time to about 20 minutes. Top them with cream cheese frosting and a sprinkle of red velvet crumbs for a cute and portable treat that’s perfect for parties or gatherings.
Questions About Recipes
→ Can I make this cake gluten-free?
Yes, you can substitute all-purpose flour with a gluten-free flour blend.
→ How do I store leftover cake?
Store in an airtight container in the refrigerator for up to 5 days.
→ Can I use natural food coloring instead of artificial?
Yes, natural food coloring can be used, but the color may not be as vibrant.
→ What can I substitute for buttermilk?
You can make a buttermilk substitute by mixing 1 cup of milk with 1 tablespoon of vinegar or lemon juice.
Red Velvet Cake
Created by: The Zestcrafters Team
Recipe Type: Baking & Desserts
Skill Level: Intermediate
Final Quantity: 12 servings
What You'll Need
For the Cake
- 2 1/2 cups all-purpose flour
- 1 1/2 cups granulated sugar
- 1 teaspoon baking soda
- 1 teaspoon salt
- 1 teaspoon cocoa powder
- 1 1/2 cups vegetable oil
- 1 cup buttermilk, room temperature
- 2 large eggs, room temperature
- 2 tablespoons red food coloring
- 1 teaspoon vanilla extract
- 1 teaspoon white vinegar
For the Cream Cheese Frosting
- 8 oz cream cheese, softened
- 1/2 cup unsalted butter, softened
- 4 cups powdered sugar
- 1 teaspoon vanilla extract
How-To Steps
Preheat your oven to 350°F (175°C) and grease two 9-inch round cake pans.
In a large bowl, sift together the flour, sugar, baking soda, salt, and cocoa powder.
In another bowl, whisk together the oil, buttermilk, eggs, food coloring, vanilla, and vinegar.
Gradually add the wet ingredients to the dry ingredients, mixing until just combined.
Divide the batter evenly between the prepared pans and bake for 25-30 minutes, or until a toothpick inserted in the center comes out clean.
Let the cakes cool in the pans for 10 minutes, then transfer to wire racks to cool completely.
In a mixing bowl, beat the cream cheese and butter together until smooth. Gradually add the powdered sugar and vanilla, mixing until combined.
Once the cakes are cool, spread a layer of frosting on top of one cake layer, place the second layer on top, and frost the top and sides of the cake.
Extra Tips
- For an extra touch, add sprinkles or chocolate shavings on top of the frosting.
Nutritional Breakdown (Per Serving)
- Calories: 380 kcal
- Total Fat: 26g
- Saturated Fat: 15g
- Cholesterol: 195mg
- Sodium: 85mg
- Total Carbohydrates: 32g
- Dietary Fiber: 3g
- Sugars: 24g
- Protein: 6g